Adventures in Rod Building
The first fly rod I ever had was one that I built myself about 14 years ago. It was pretty fun and rewarding fishing with a rod I'd built. So, I decided to build another rod this month. I either wanted to go with a heavier, longer rod, such as a 7 or an 8 weight rod to go after bigger fish like steelhead and carp, or a lighter, shorter rod such as a 2 or a 3 weight for better access on the Logan and the Blacksmith Fork Rivers. Since I spend most of my time on the smaller streams, I decided the better choice right now would be to build a lighter rod, and I had my eye on the Sage VT 2, 3 weight, and 7'9" long. I got the blank and all the components at the beginning of this month, and got to work.
In a nutshell, building a rod goes like so:
One of the first steps in building a rod is to find the spine. Then the placement of the line guides are measured and marked on the blank. Another step in the process is to epoxy the reel seat and the cork grip to the butt section of the rod. Then the guides can be placed on their marks along the blank, and taped to the rod, after which thread can be wrapped around each side of the guide. After all the thread is wrapped, thread finish (a flexible epoxy) is applied to the thread wraps and let to cure. After about 10 days, the rod is ready to fish with.
I photographed some of the steps along the way throughout the process:
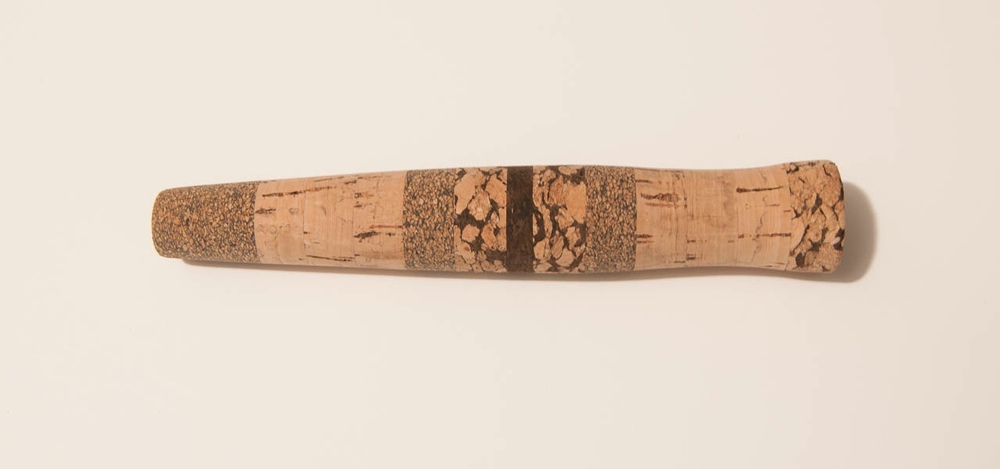
The cork grip can either be bought pre-shaped, or you can get cork rings, and epoxy and shape them yourself for a complete custom grip, and that's what I chose to do (and this was the most fun part of the whole project; if you think you want a custom grip, let me know, I'd be glad to make it for you).
Here is what mine looked like right after I'd epoxied each individual cork ring together that would make up the grip:
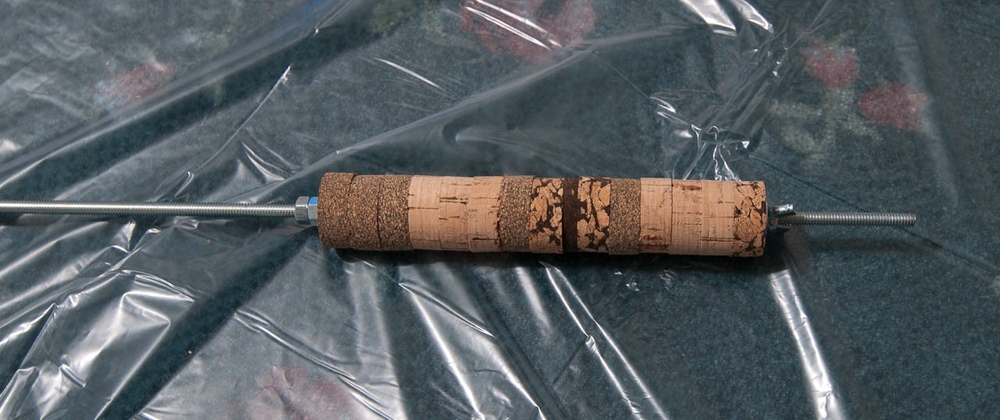
The rings are put on a piece of all-thread, with a few wing nuts on either side, then spun in a lathe, or, if you go the cheap route like me, it's spun with a drill, using sandpaper of varying grits to shap it. Here's my grip beginning to take shape:

And here it is finished:
Before the reel seat is put on the rod, two arbors need to be made (using either tape or graphite arbors that can be bought) that the reel seat will sit on.

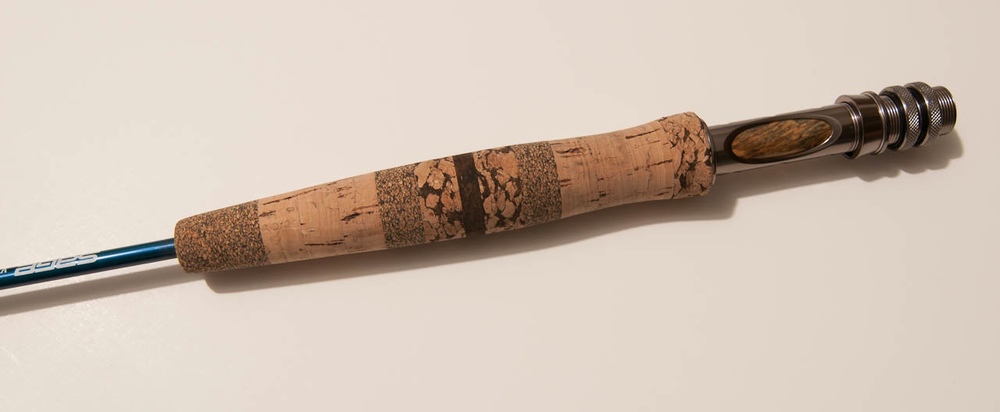
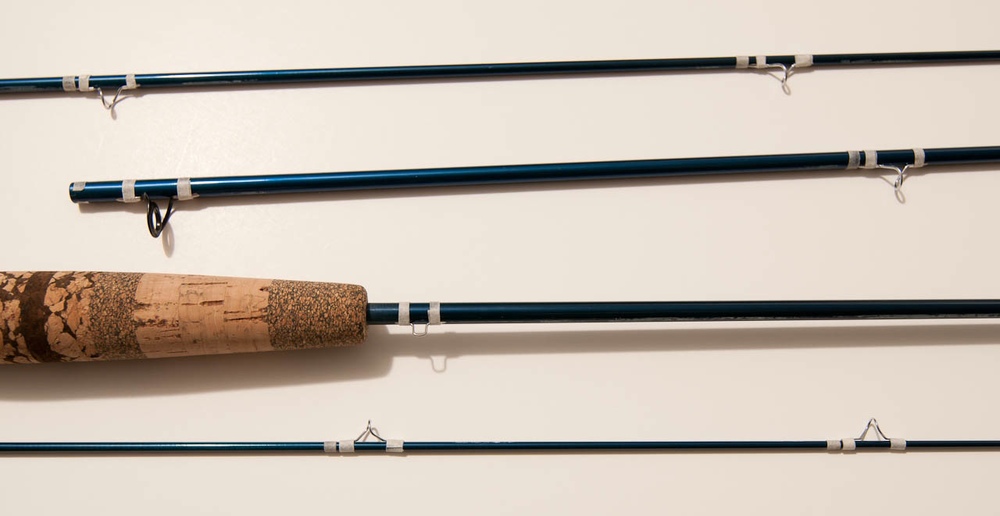
Here's the butt section with the reel seat and grip epoxied:
The first guide that gets epoxied to the rod is the tip top guide:
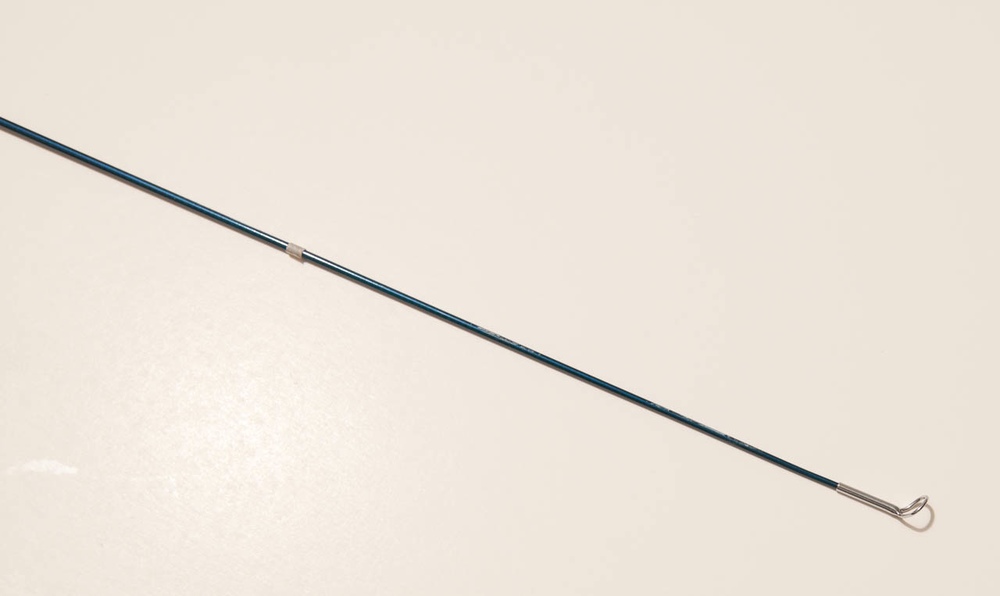
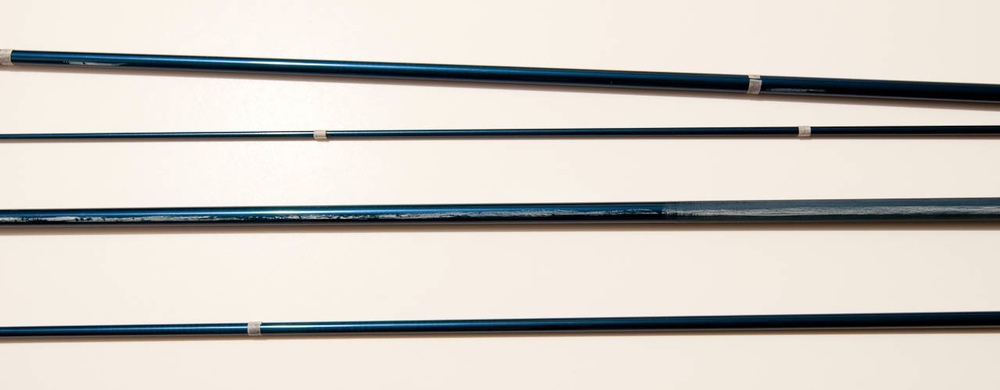
Here's the blank all marked out for the guides and spine:
And here are all the guides taped in place, and ready for thread:
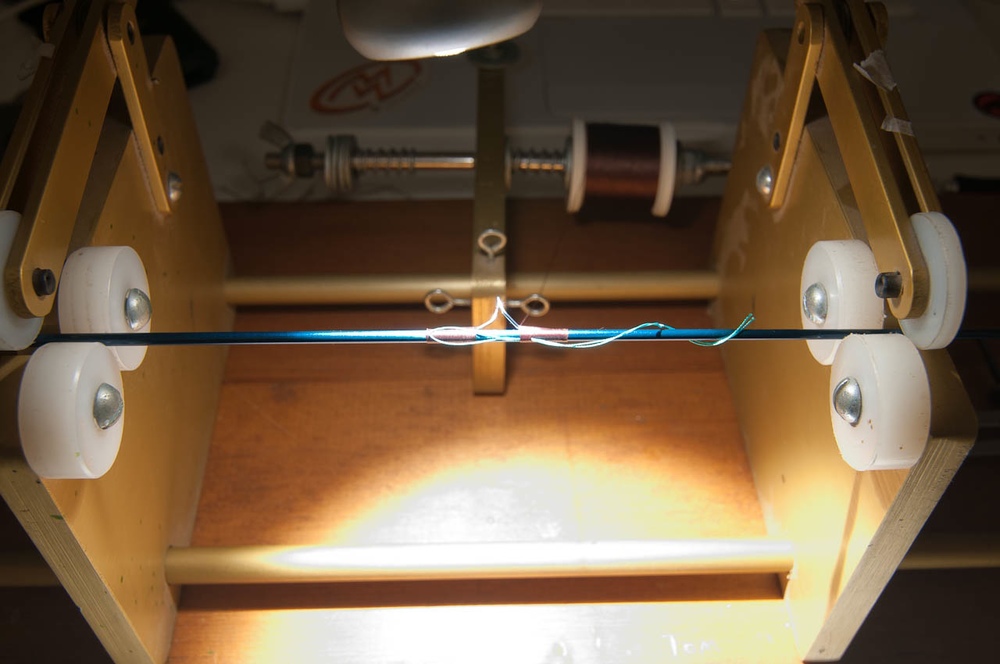
Wrapping thread is probably the most tedious and probably the most critical step. Wrap it too loose, and the guides will be easier to break off and out of alignment; too tight, and they change the flex of the rod, and risk breaking the rod.
Here's the finished product:
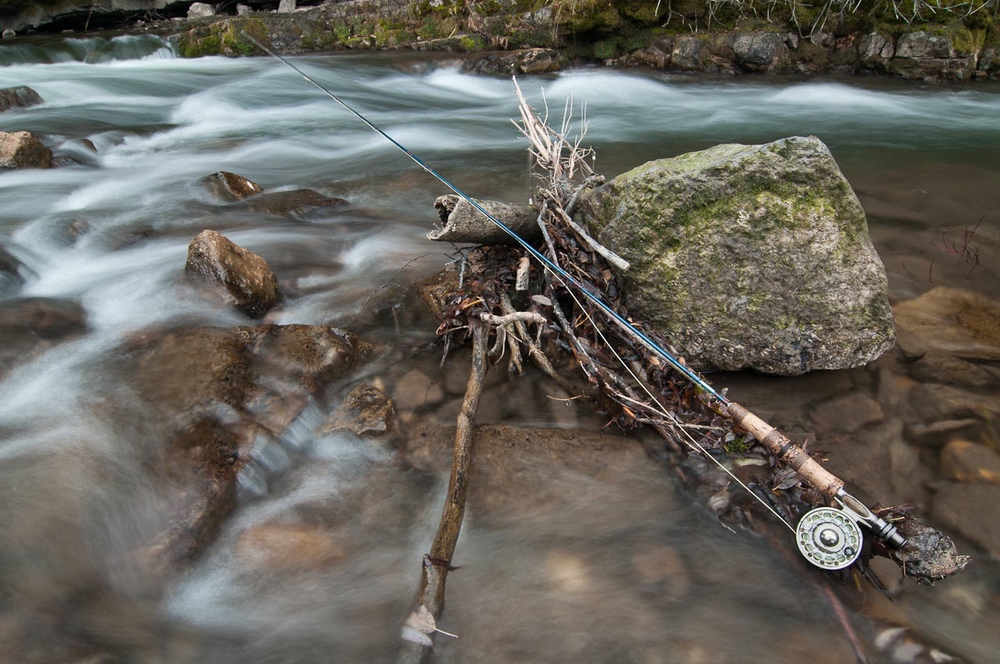
I'm really pleased with how it turned out, and it casts like a dream, though it took a little while to get used to casting such a light and short rod. Despite the crummy weather today I couldn't stay off the river, and went up to my favorite stretch of the Logan for the rod's inaugural trip. After trying a few nymphs with a few yarn strike indicators that I'd made myself, which failed miserably, I switched to Royal Wulff. A few casts later, a good size Brown Trout rose. I missed the hook set, and I whipped the fly off on my next forward cast. I decided to put on a chartreuse Humpy, and two casts later I'd hooked into the fish:
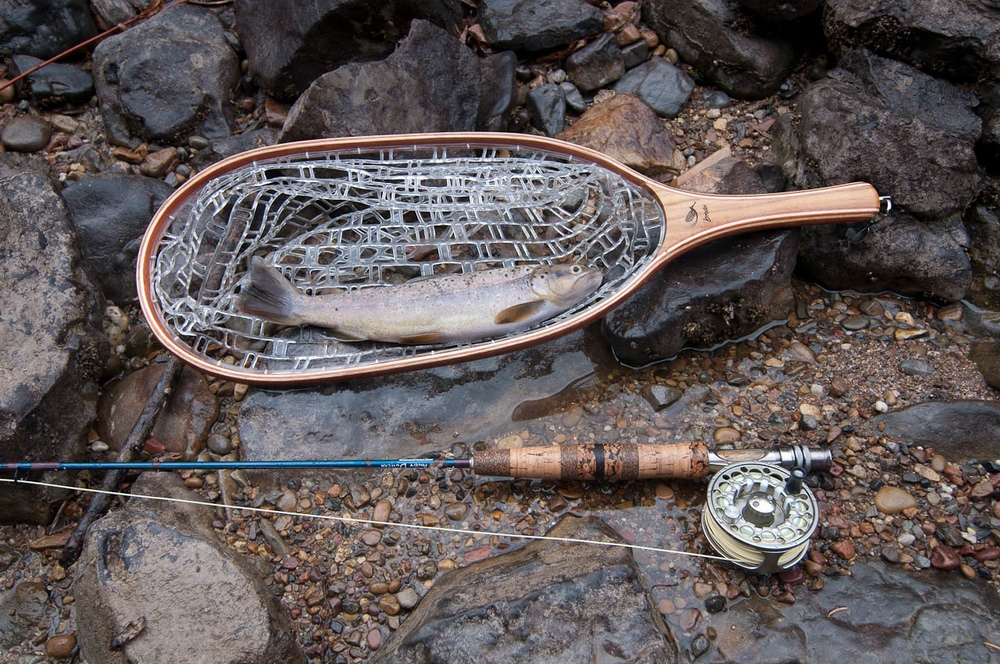
I was just happy to be casting on my creation, but to catch a 14" brown on it's first outing really made my day.