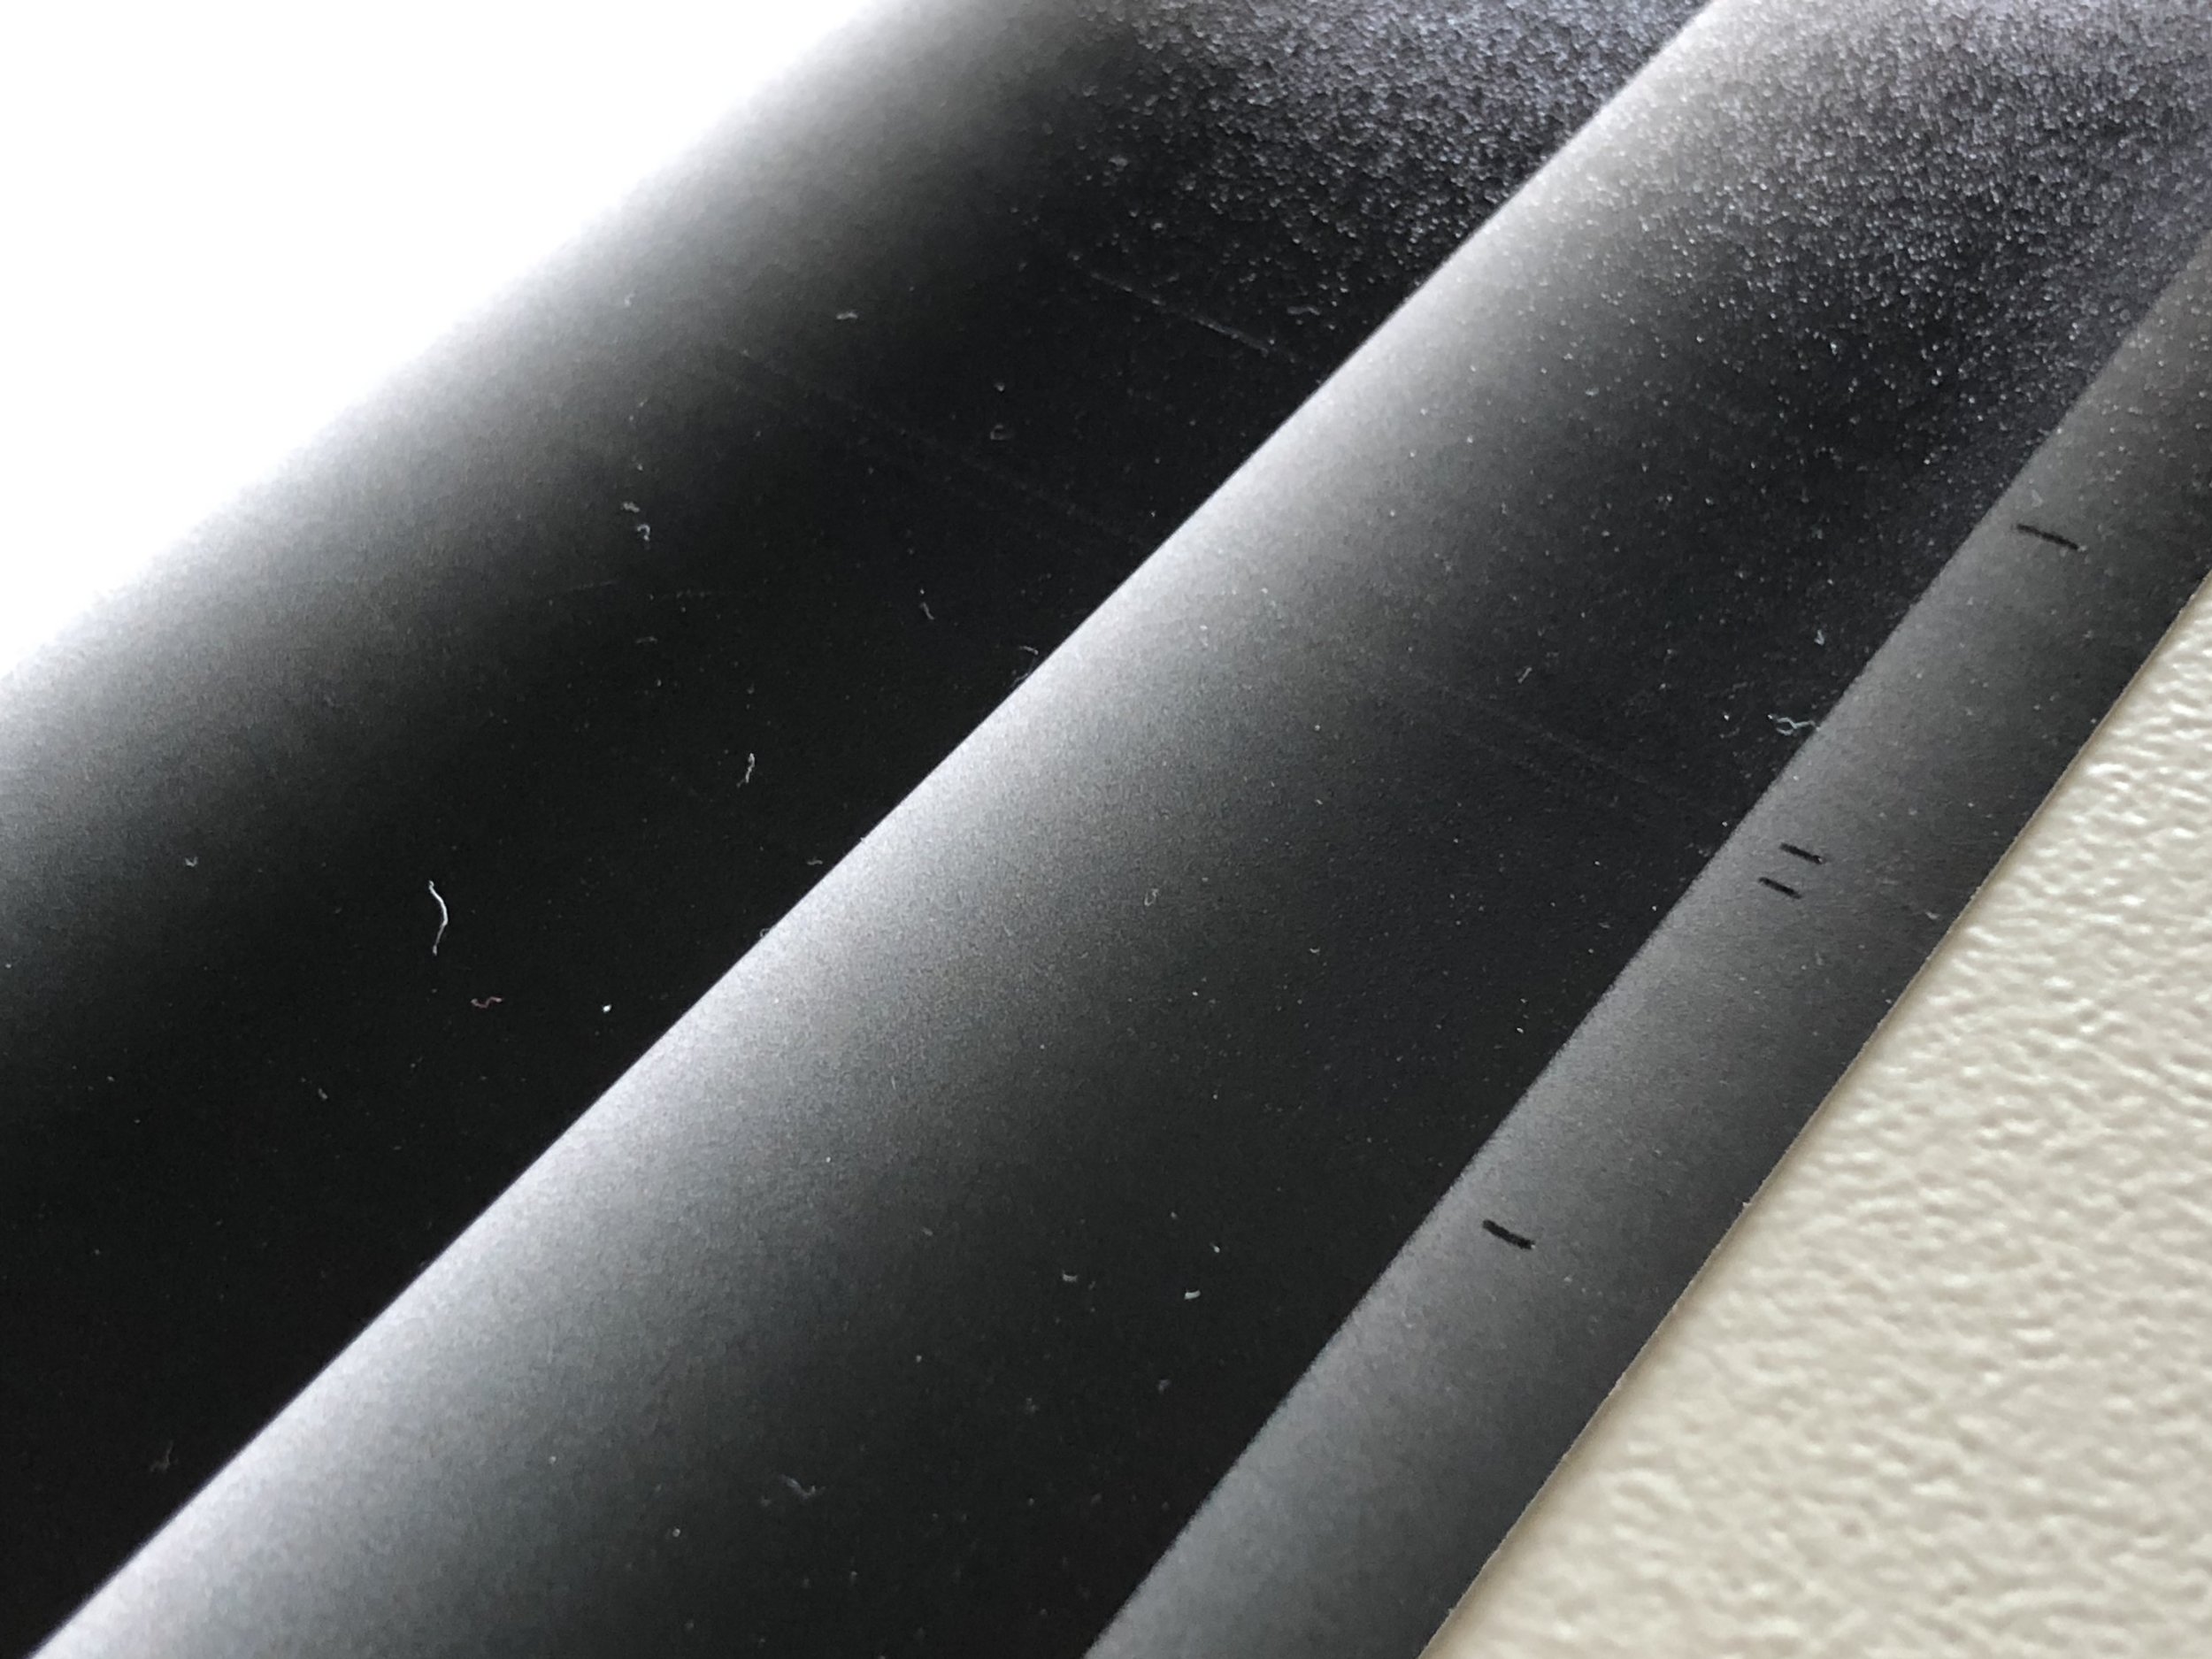
A few weeks ago I ran a few prints off my Epson P800 that is now a little over two years old, and saw that it left the dreaded “pizza wheel” marks in the surface of the print that seems to plague many Epson printers. I then spent all my free time reading forums and watching YouTube videos on how to fix the issue, and went back and forth with Epson tech support via email, and then finally spent over an hour on the phone with them. In the end, Epson had nothing helpful to offer, other than contact info for a local service center, who likewise said nothing helpful except to bring it in for them to run diagnostics, and a repair estimate of $90-$900.
What are Epson pizza wheel marks?
These “pizza wheel” marks are made by some rollers about 10mm in diameter, and are there to keep the print flat in the printer, and these rollers look like a little serrated pizza cutter. For the unfortunate owners who get inflicted with this particular issue seemingly at random, their prints get little pin pricks along the length of the print, as seen below in my test print:
A video I watched suggested dousing the rollers and the springs that hold them in place in a print head cleaning solution and running a thick card under them back and forth a dozen times. This is supposed to break up any dried over sprayed ink that might have been deposited in the springs, thus returning the spring and flexibility to the springs. But that didn’t work, and it seemed like the most promising solution. Other videos were far less helpful. They showed the owners bashing the printer with sledgehammers, or blasting them with shotguns.
One of the people in a forum post I’d read said they completely removed the springs and rollers altogether, and that is what I ended up doing. And if I only printed on plastic based media, such as Epson’s Premium Luster paper, or Pictorico’s transparency media, I think that would have been a decent work around. But I don’t only print on plastic based media. I print quite a bit on baryta fiber based paper, and without those rollers to keep the paper flat in the printer, the ink load is such that the paper swells and rises into the print head, and instead of the rollers making marks, it’s the head that scratches the print. Don’t ask how I know this...
It didn’t take long for me to see that the rollers and springs were necessary for my process. But after the failure of the first solution, I thought maybe a deeper cleaning of the springs and rollers might help. They were already out of the printer, so I put them in an ultrasonic cleaner with first, a 10% solution 70% IPA and water, and then a 5% solution of Windex and water, rinsing the parts off in between cleanings. I went with the cleaning with Windex, because the alcohol didn’t quite do the trick. People use Windex to unclog severely clogged printheads, as the ammonia breaks up the dried ink, so I figured that might help finish off what the IPA left behind, and sure enough, after a cycle the parts came out sparkling clean.
Parts before cleaning. Note the springs on the right, and how pink they are.
Parts after cleaning. There’s still some pink staining, but this is pretty deep discoloration, and no longer superficial residue affecting the mechanical workings of these parts.
Two reinstalled rollers, with seven slots still empty. This step requires a LOT of patience.
Reinstalling the rollers is quite the pain. The parts are tiny, and you have only a few inches of room in which to work. I installed three of the rollers, and ran a test print, and prayed. I think I heard the Hallelujah Chorus being sung as the print exited the printer, free of those cursed marks! I’ve now run a few more prints off after installing a few more of the rollers, and they continue to come out clean and undamaged.
This procedure isn’t for the faint of heart, and it really helps to have some needle point tweezers. Head lamps and bright flashlights are also quite useful in illuminating the inside of the printer.
I’ve never posted any how-to’s here. At least none that I can remember, and I’m too lazy to dig through the archives to see if I have. Anyway...I felt I’d share my experience here in case anyone who comes across this post that is suffering from this issue needs some hope that a huge bill from a repair shop isn’t their only option. Nor do they need to resort to destroying the printer in a showy fashion.


